Showing posts with label lasting lily. Show all posts

Tuesday, April 16, 2019

Framed Lilies

Hey there Stampers! Welcome back! And if it's your first time stopping by 
I'm happy to see you!

Today's card features the Lasting Lily stamp set that was only available during 
Sale-a-bration. 


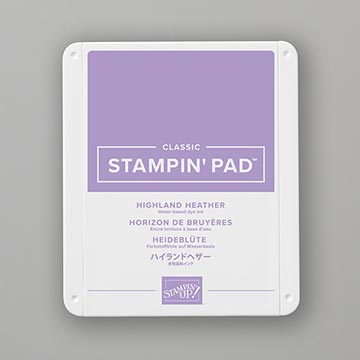
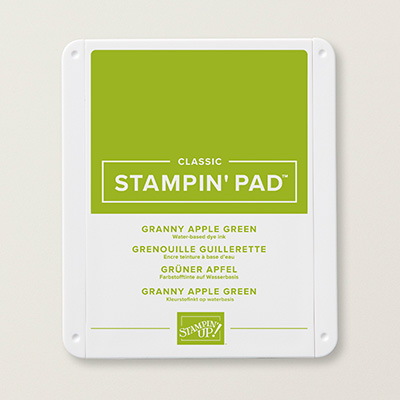
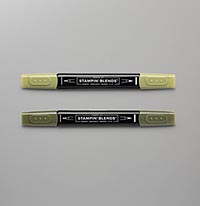
The lilies were stamped onto a smaller piece of Whisper White cardstock using Highland Heather and Granny Apple Green ink. This piece was adhered to the card front. The middle of the frame was cut out using the Rectangle Stitched Framelit dies and the Happy Birthday sentiment was embossed using Gold Embossing Powder. Then the frame was placed onto the card front using dimensionals. 

All the products I used on my card are listed below. Just click on the image to be taken to my website for easy ordering.

Wednesday, April 3, 2019

Another Lasting Lily Marbling

Hey there Stampers! Halfway through the week!

Today's card once again features the Marker Marbling technique. This time using some different colours which gives it a completely different feel. If you saw the card from Monday, I'd be interested to know if you like that one or today's card better.


The lilies were stamped in Night of Navy and Merry Merlot inks, and the stems were stamped using Garden Green. They were then cut out with the Lily Framelit Dies that were available last month. **please note that there is no texture to the lily, it is unfortunately a result of the photo editing. 

I randomly scribbled onto a ziplock bag using Night of Navy, Real Red and Daffodil Delight Stampin' Blends. Make sure that your coloured area is the same size or a little larger than the cardstock piece that you are going to use. Once I had the colour where I wanted it, I spritzed the bag with a Stampin' Spritzer filled with alcohol. I then placed the Glossy cardstock piece upside down onto the bag and pressed down. Lift the cardstock piece off and let it dry. Once dry, I layered this piece, as well as the sentiment, with Grey Granite. The lilies and sentiment were applied to the card front using dimensionals. 

All the products I used on my card are listed below. Just click on the image to be taken to my website for easy ordering. 

Tuesday, April 2, 2019

Lasting Lily

Hey there Stampers! Welcome back, and if it's your first time stopping by, thanks for visiting!

Today's card is sort of a continuation of yesterday's post. The small cardstock piece behind the lilies is a piece cut off from my Marker Marbling cardstock background piece from yesterday's card.


For this card I wanted to show that background techniques don't necessarily have to encompass the whole background of the card. Sometimes a technique can be featured in just a small way but it still makes an impact. 

The lilies were stamped in Merry Merlot ink, and the stems were stamped using Mossy Meadow. They were then cut out with the Lily Framelit Dies that were available last month. **please note that there is no texture to the lily, it is unfortunately a result of the photo editing. 

If you missed it yesterday, here is how I created the Marker Marbling technique: 

(I used a larger piece of Glossy cardstock than what I needed and chose the finished area that I liked the best, cut down to size for yesterday's card and keeping a smaller piece cut to size for today's card.)  

I randomly scribbled onto a ziplock bag using Mossy Meadow, Crumb Cake and Mango Melody Stampin' Blends. Make sure that your coloured area is the same size or a little larger than the cardstock piece that you are going to use. Once I had the colour where I wanted it, I spritzed the bag with a Stampin' Spritzer filled with alcohol. I then placed the Glossy cardstock piece upside down onto the bag and pressed down. Lift the cardstock piece off and let it dry.

A piece of Wood Textures DSP was layered onto Whisper White card base. Then pieces of Merry Merlot and Whisper White cardstock were layered onto card front. The Marker Marbling piece was placed just off of the cardstock frames. The lilies were then added using dimensionals, and a bow was attached using Linen Thread and small glue dot. The sentiment was stamped using Memento Black ink and adhered over the lilies using dimensionals. 

All the products I used on my card are listed below. Just click on the image to be taken to my website for easy ordering. 

Monday, April 1, 2019

Lasting Lily Marbling

Hey there Stampers! Happy Monday to you!

This card was made using the Lasting Lily stamp set that was only available as a Sale-a-Bration reward as well as the Lily Framelit Co-ordinating dies. The background piece was created using the Marker Marbling technique.


The lilies were stamped in Night of Navy and Merry Merlot inks, and the stems were stamped using Mossy Meadow. They were then cut out with the Lily Framelit Dies that were available last month. **please note that there is no texture to the Night of Navy lily, it is unfortunately a result of the photo editing. 

I randomly scribbled onto a ziplock bag using Mossy Meadow, Crumb Cake and Mango Melody Stampin' Blends. Make sure that your coloured area is the same size or a little larger than the cardstock piece that you are going to use. Once I had the colour where I wanted it, I spritzed the bag with a Stampin' Spritzer filled with alcohol. I then placed the Glossy cardstock piece upside down onto the bag and pressed down. Lift the cardstock piece off and let it dry. Once dry, I layered this piece, as well as the sentiment, with Crumb Cake cardstock. The lilies and sentiment were applied to the card front using dimensionals. 

All the products I used on my card are listed below. Just click on the image to be taken to my website for easy ordering.